You love GitHub but don’t like putting your code in the cloud. Self-host your own GitLab server for free.
Self-host GitLab using Docker Compose for a free Git management system similar to GitHub and BitBucket but for your local environment.
TL;DR
GitLab is a great alternative to GitHub and BitBucket if you want to self-host a Git version control system for free on your private local network independent from the cloud. Clone my repo from here, follow the instructions and self-host a GitLab container in no time.
Table of Contents
- Introduction
- What is GitLab?
- Follow these steps to self-host a GitLab container
- How to create a new user?
- How to create a new repo?
- How to check out a GitLab repo?
- Using GitLab with a SSL certificate
- How to completely remove the GitLab container?
- References
Introduction
Sometimes one is not allowed to, or just don’t feel comfortable, putting code in the cloud due to security or privacy concerns. Wouldn’t it be great to have service like GitHub to manage your Git repos but self-hosted on your private network? This problem is solved by making use of GitLab, an enterprise level version control system similar to GitHub and BitBucket. Presented below is a convenient and reliable Docker Compose script to self-host GitLab.
What is GitLab?
GitLab is a open-core version control management system with many features associated with GitHub [1]. A full list of GitLab features can be found here and here [2, 3]. Its most important feature however, in my opinion, is the fact that it can be self-hosted for free, a feature not possible with GitHub and BitBucket [3, 4, 5]. GitLab Inc., the author of GitLab, also made available a docker image meaning the install process can be automated and hosted on almost any platform able to run Docker [6, 7]. In the section to follow I explain how to use my Docker Compose script to install GitLab with just a few easy steps.
Follow these steps to self-host a GitLab container
Check out my repo:
$ git clone https://github.com/PhiCygni/gitlab-free-local-server-using-docker-compose.git
Get the local hostname of the machine you want to host GitLab on:
$ hostname
Modify the .env file with a text editor and change the localhost value to your local hostname. For example:
GITLAB_HOSTNAME=mydesktop
Build and start the GitLab container:
$ docker-compose up
While it’s building and starting up open another terminal to the same directory and run the command:
$ docker-compose ps
This command will report on the current state of the container. Wait until the State column reports the container to be Up (health: healthy) and not Up (health: starting). This might take about 5 minutes so be patient! This is how we know the building of the container is completed and is ready to be used.
Now retrieve the newly created GitLab root password:
Linux: $ sudo cat ./config/initial_root_password
Windows: $ type .\config\initial_root_password
Example output:
Password: zsFHw3SpgwSTal1+Ufiurw4DaghDIcKlVy+MUctmxwE=
Make sure to write this root password down somewhere because GitLab will delete it in time!
How to create a new user?
Log into GitLab using the root user:

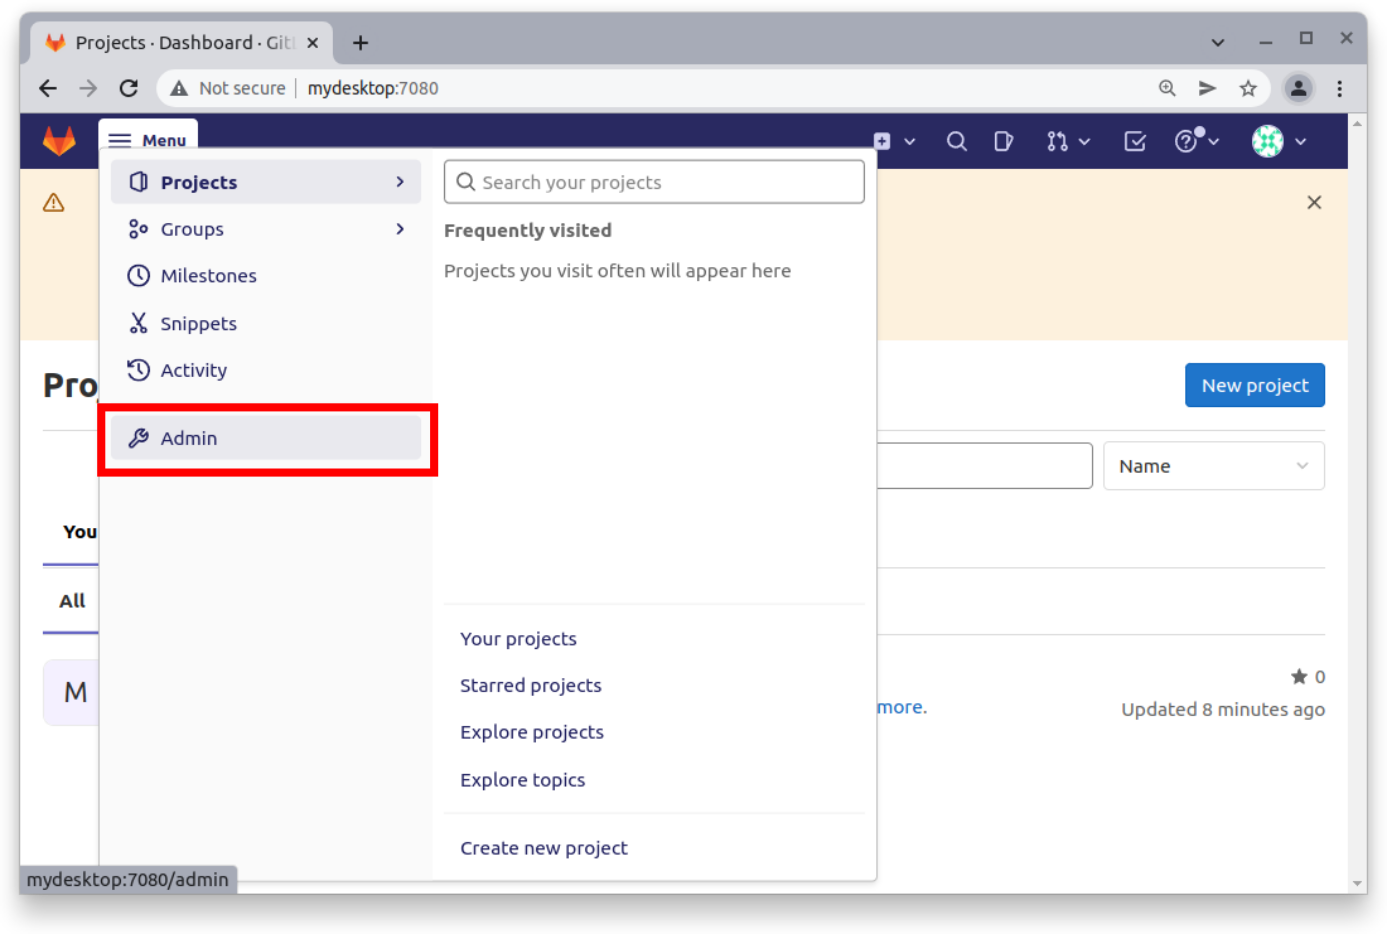
Go to the admin page:
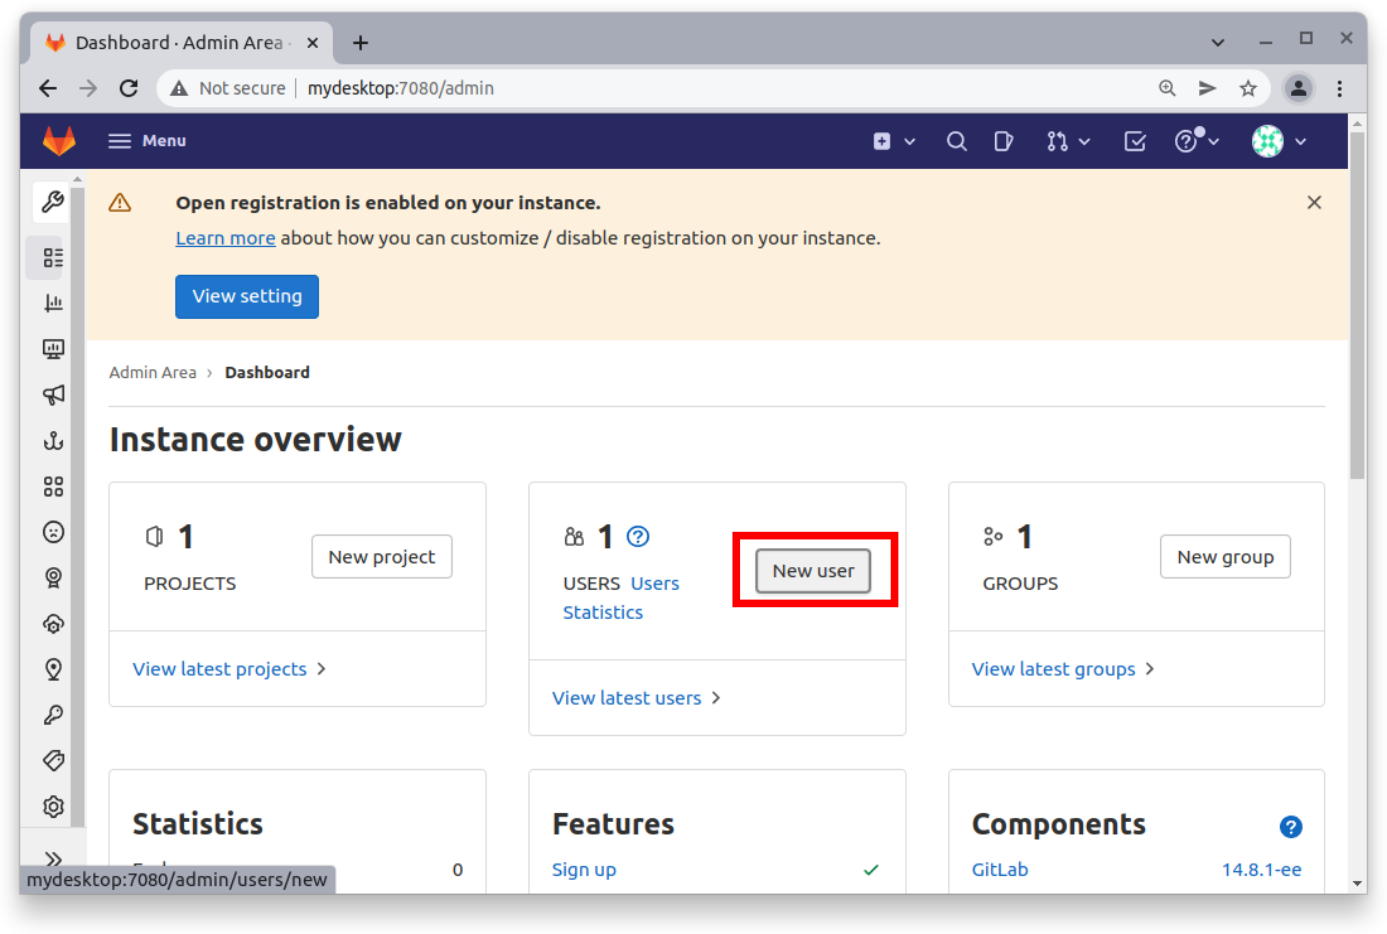
Create a new user by clicking on the “New User” button:
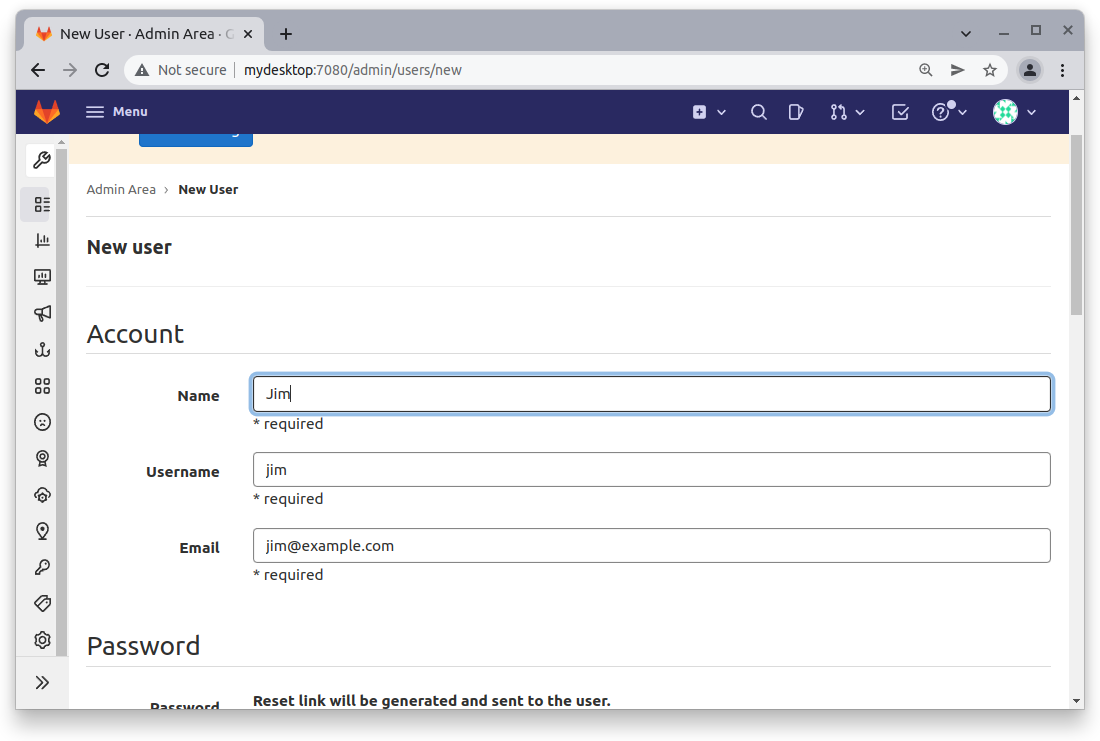
Fill in the details of the new user. For this demonstration I will be using the name Jim:
Just as an example we will set the access level for this user to administrator:
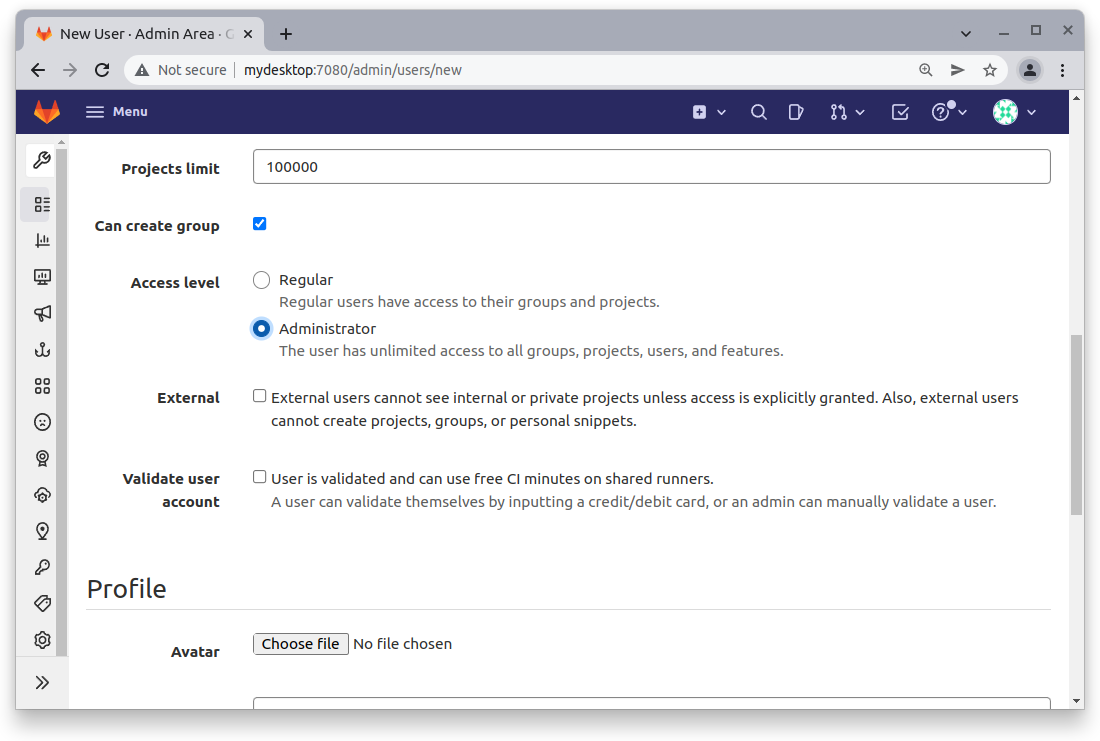
Finally create the user by clicking the “Create User” button.
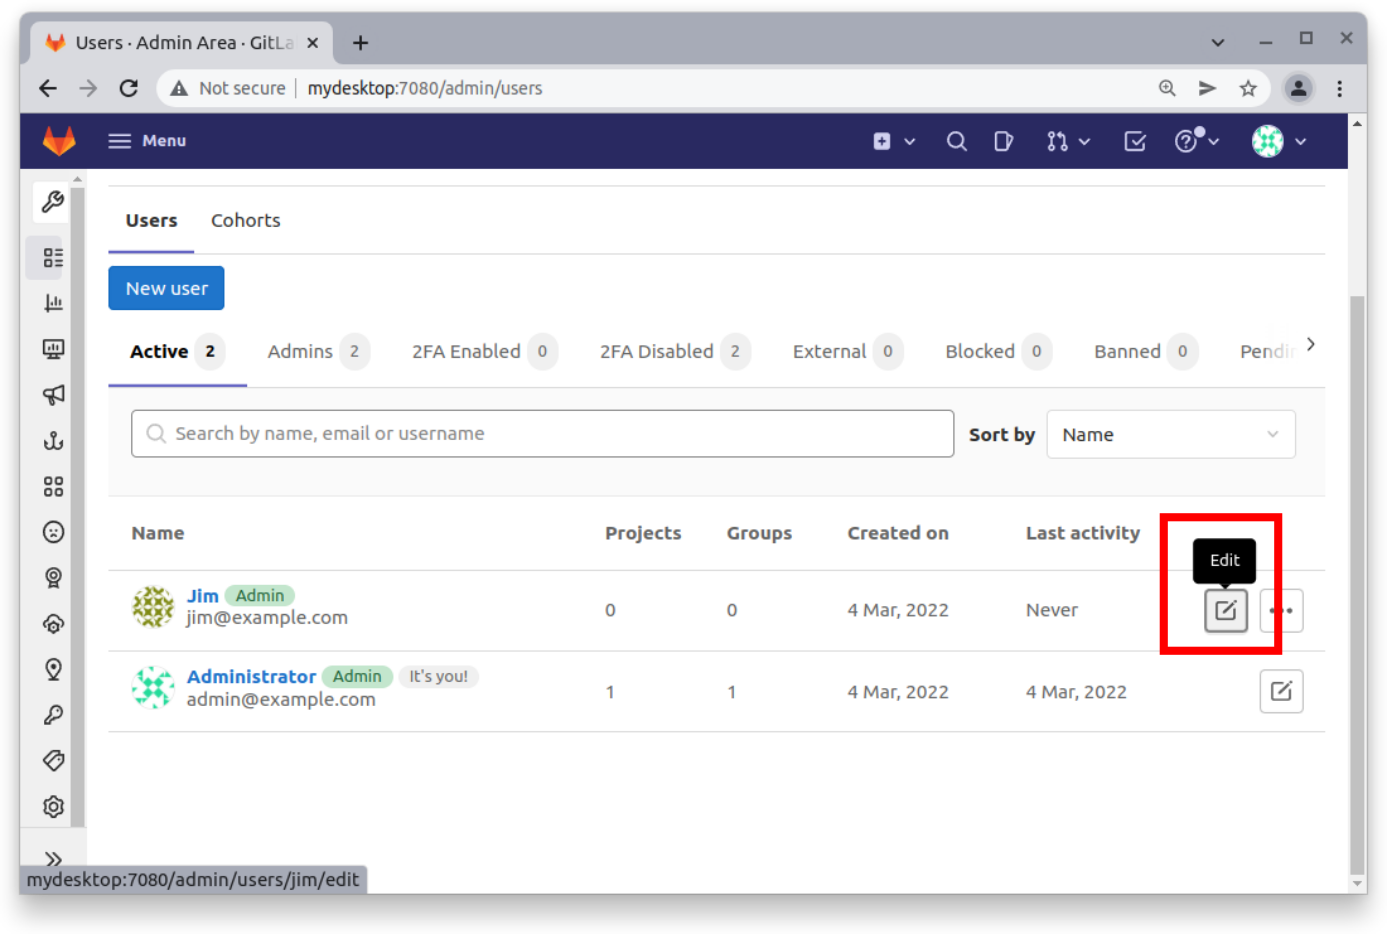
We now need to set the initial password of this new user. Go to the users list and edit the user we just created:
Give the user an initial password. The user will be given an opportunity to set their password the first time they log in so this will just be a temporary password.
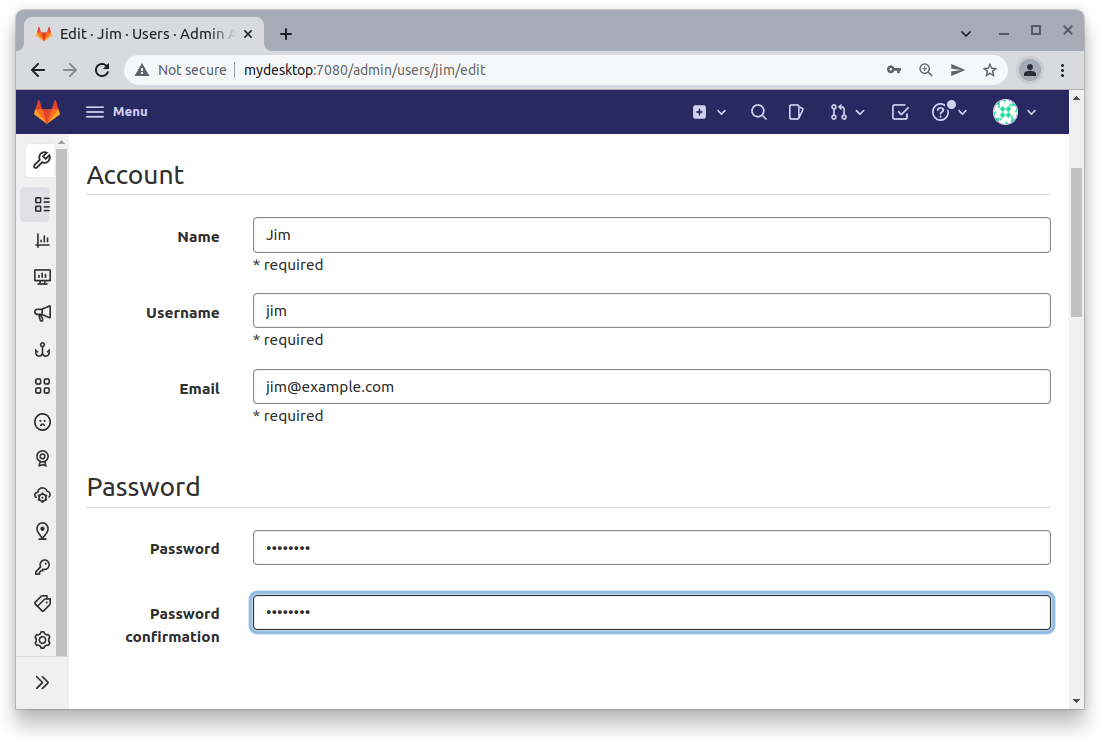
Finally set the password and log out as the root account. Now log in as our new user:
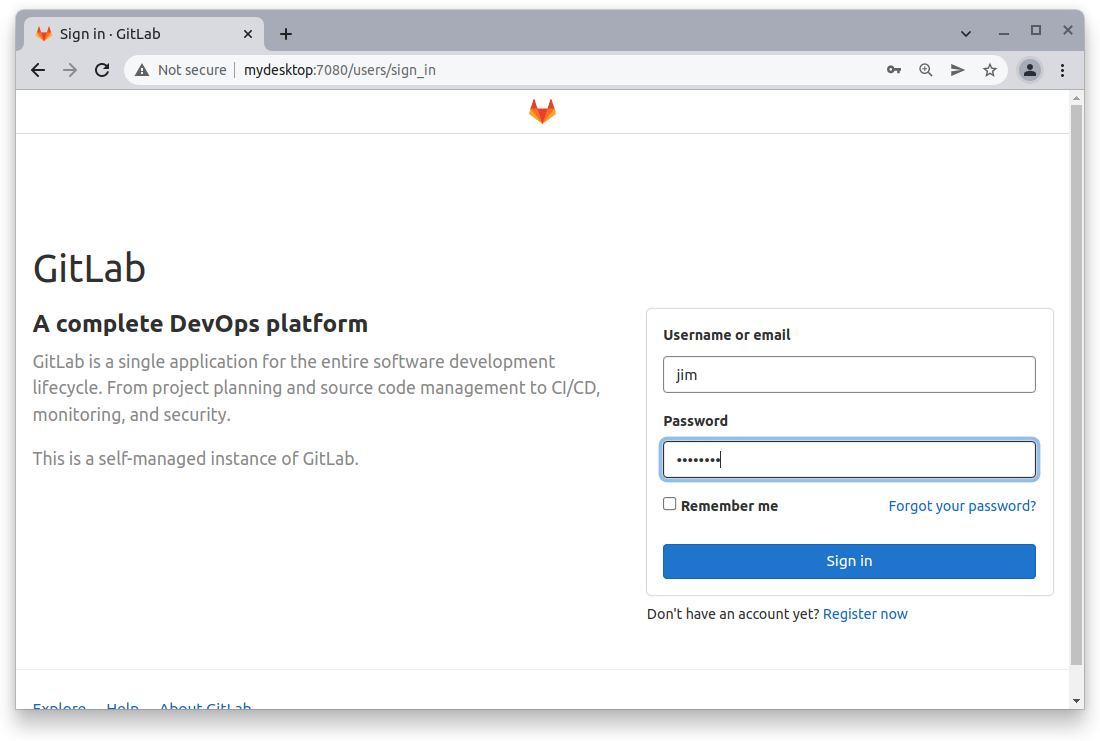
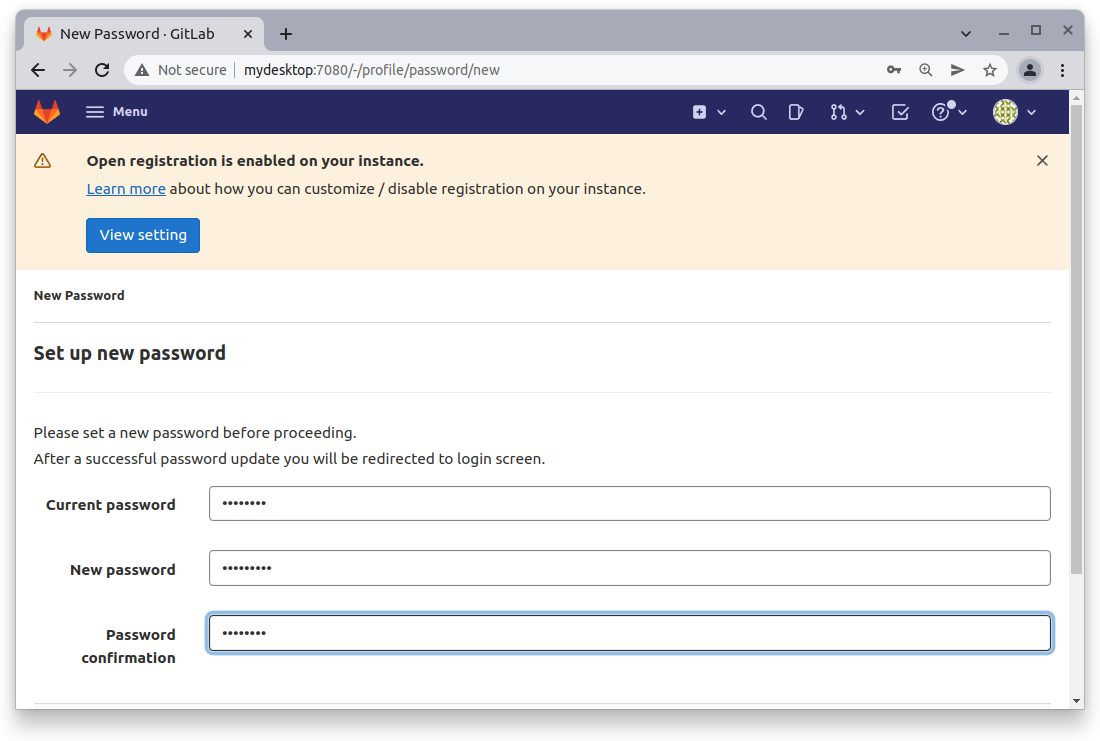
After logging in the user will be presented with a password reset page. Set the new password:
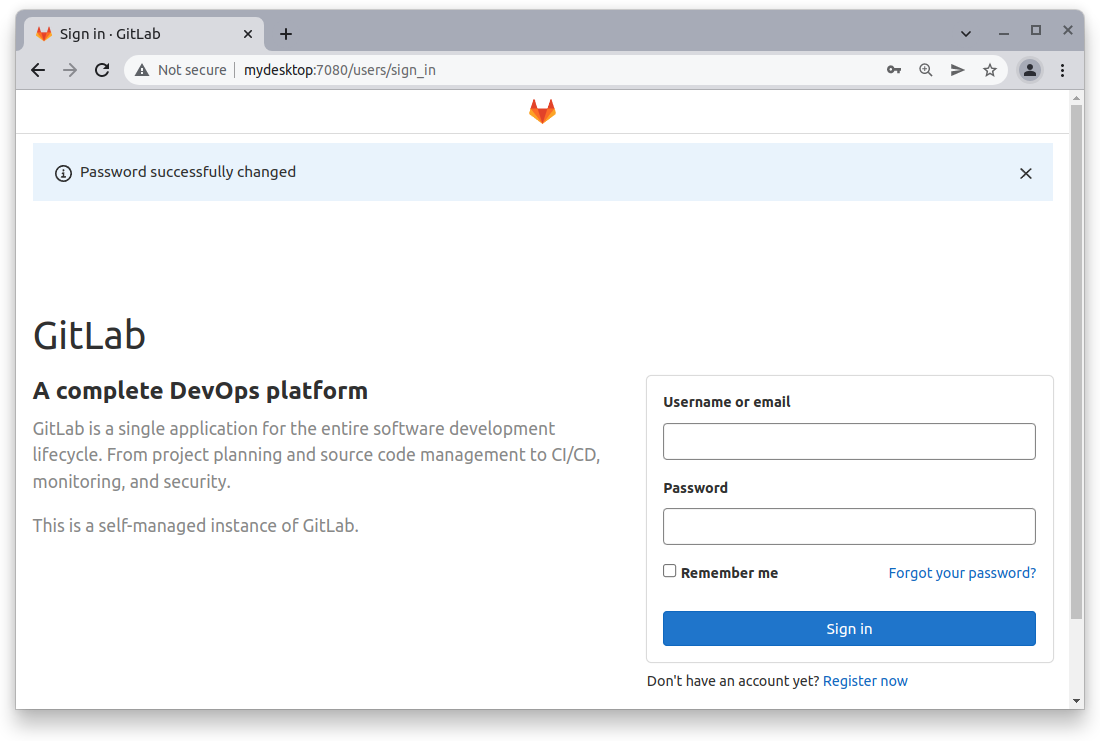
The password is now successfully changed allowing us to log in:
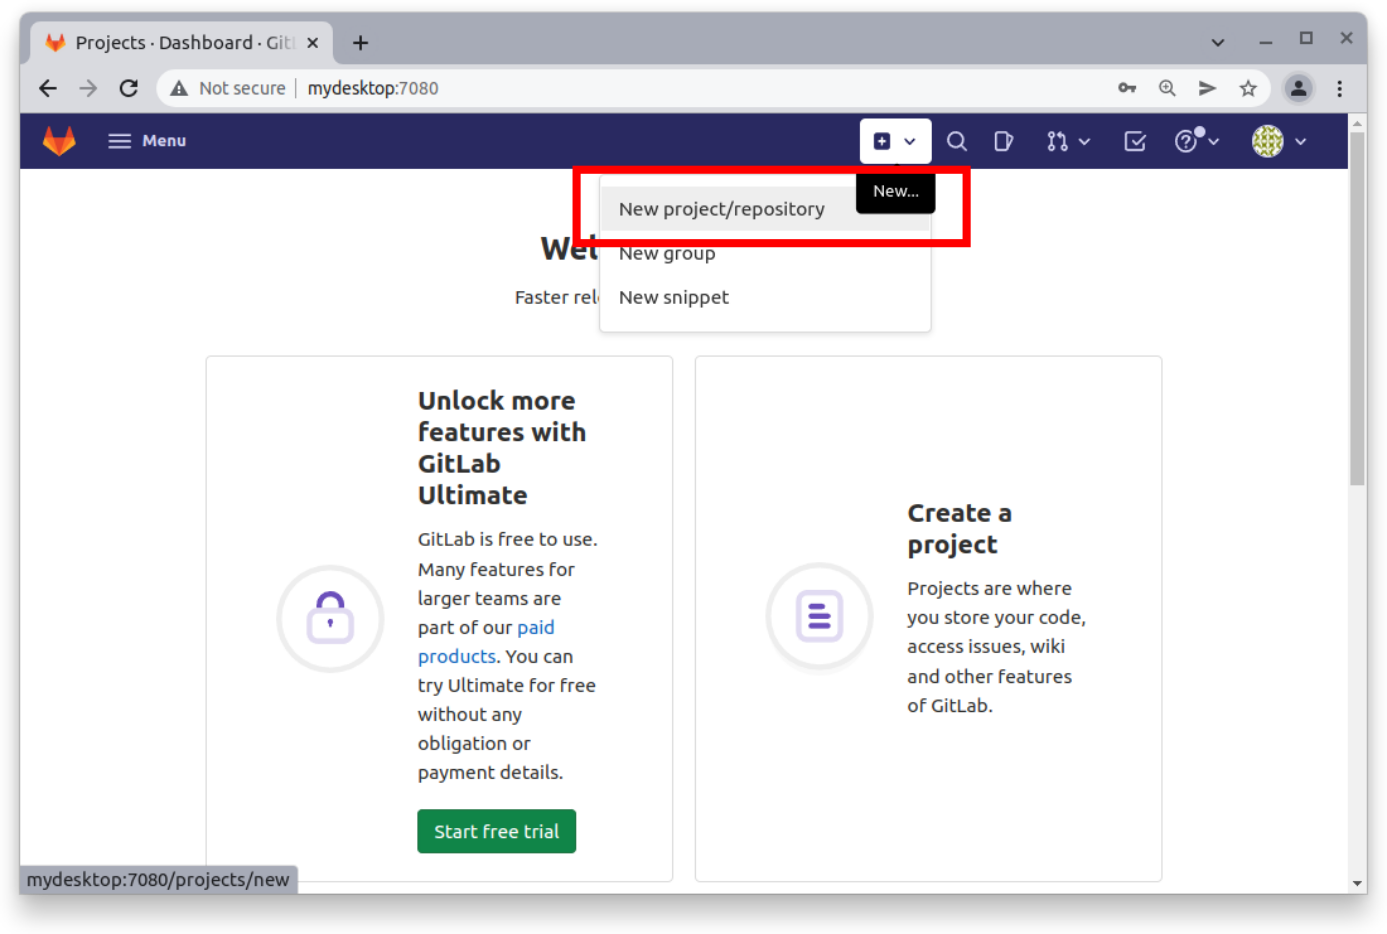
How to create a create a new repo?
Log in as the new user and follow these steps to create a new repo:
Set a name for the new repo:
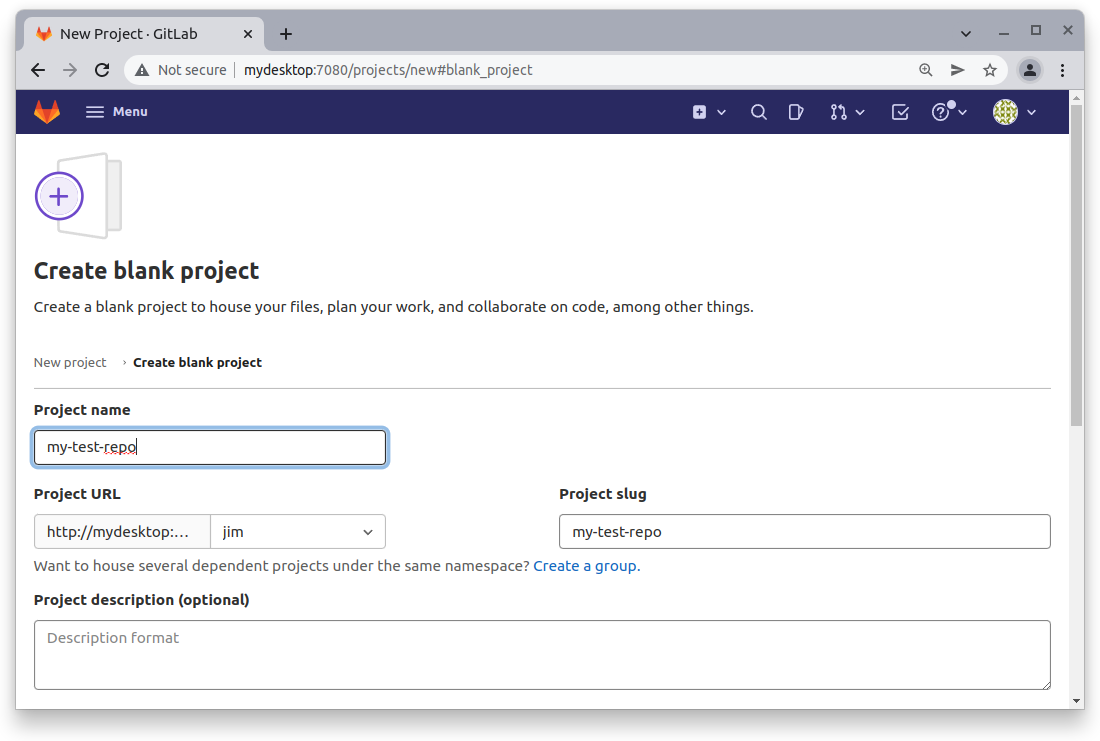
Finally create the repo and copy its HTTP URL:
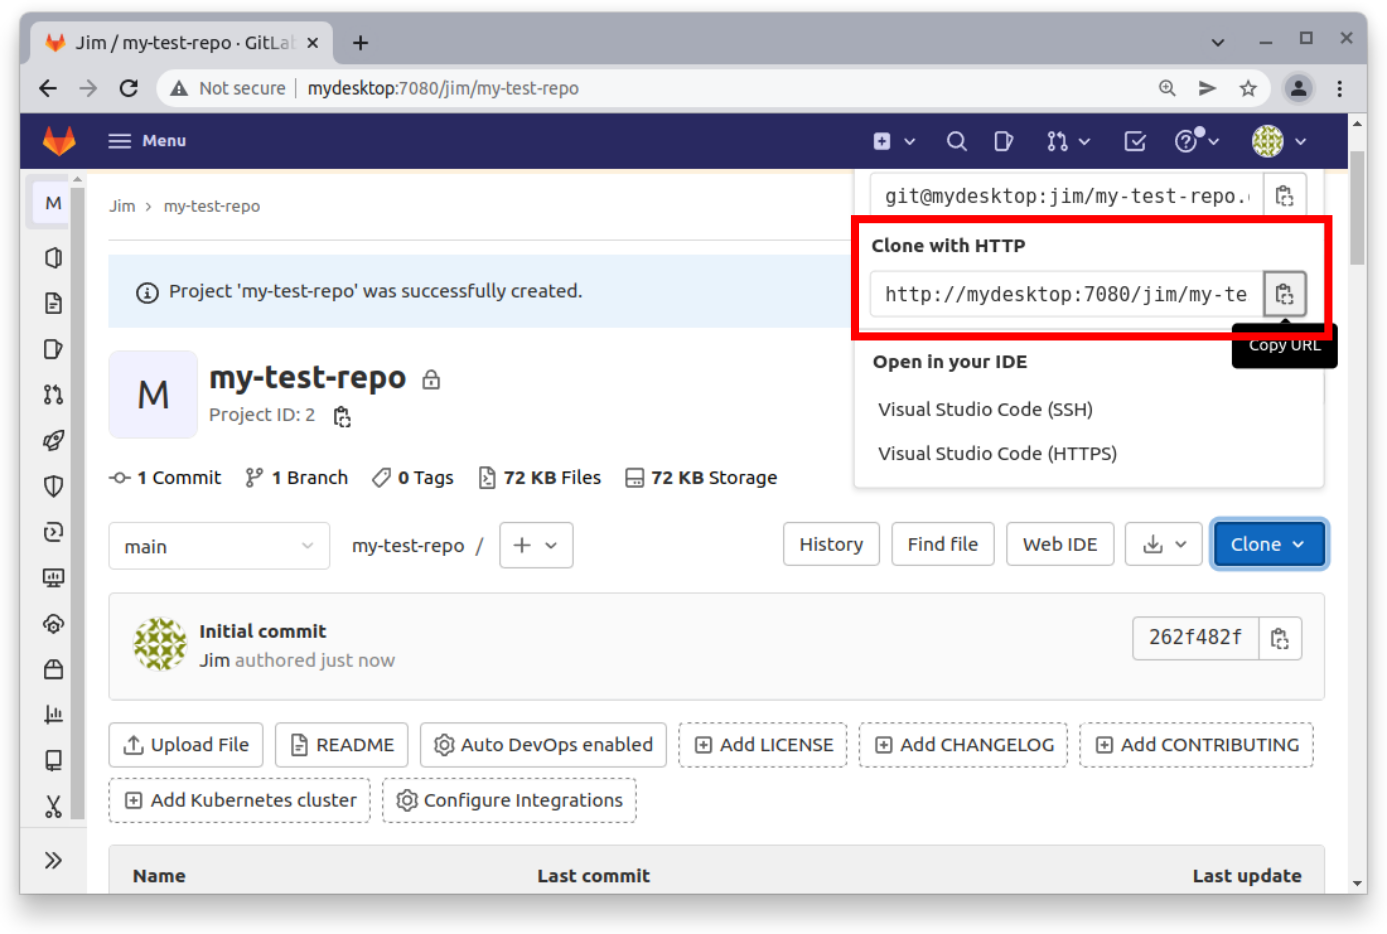
How to check out a GitLab repo?
Checking out a repo from GitLab is pretty much the same as checking out a repo from other popular cloud-based managers. Let’s check out the repo from the URL we just copied from GitLab. The steps are:
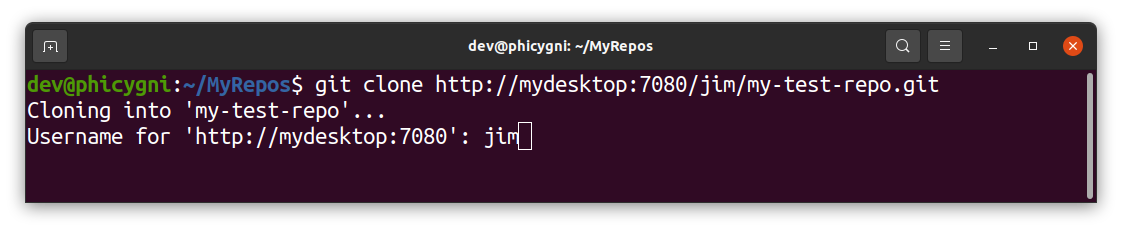
$ git clone http://mydesktop:7080/jim/my-test-repo.git

When prompted provide the username:
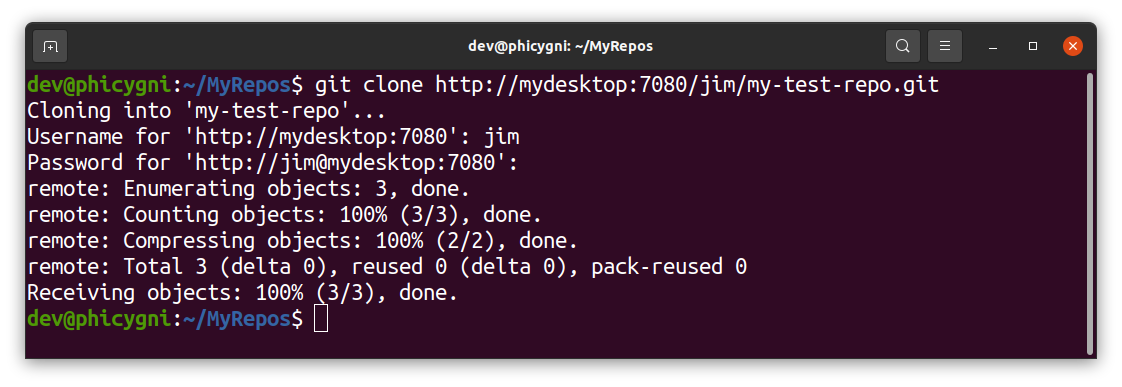
Finally provide the password when prompted:

The repo will now be checked out and the command line output will look something like this:
Using GitLab with a SSL certificate
It should be noted my script design currently does not make of the SSL HTTPS capability of GitLab and uses only the non-encrypted HTTP protocol. This was intentional to keep install steps to a minimum and simplify things as much as possible. In my opinion using HTTP only is not the end of the world given that the recommended use case of my script is for a private local network.
However, it is very possible to generate a SSL certificate for GitLab so that HTTPS can be used instead of just HTTP. One can generate a Certificate Authority and then add it to all the client computers requiring a verified HTTPS connection to the GitLab server. I will expand this story to incorporate the addition of verified HTTPS access if I see there is enough interest.
How to completely remove the GitLab container?
Note! The following steps will completely remove the GitLab container and all its repos!
One will only want to do this if a fresh install is required for some reason or the service is no longer needed. If that’s the case do the following to remove the container, repos and its config files:
Linux: $ ./script-docker-compose-down-remove-everything.sh
Windows: $ script-docker-compose-down-remove-everything.bat
References
[1] https://about.gitlab.com/devops-tools/github-vs-gitlab/
[2] https://about.gitlab.com/features/
[3] https://about.gitlab.com/pricing/self-managed/feature-comparison/
[4] https://www.atlassian.com/software/bitbucket/pricing?tab=self-manageddata-center
[5] https://docs.github.com/en/get-started/learning-about-github/githubs-products
[6] https://docs.gitlab.com/ee/install/docker.html
[7] https://hub.docker.com/r/gitlab/gitlab-ee/