How to set up a test SMTP server?
Using Mailhog one can very easily have a free personal SMTP server to test code with. Set it up with just one command.

I recently developed an administration system for a client with a requirement for sending emails to users using the SMTP protocol. In order to properly test the email functionality of the software I felt I needed my own SMTP server to make sure the mails sent out are correct and in order. It would be embarrassing and unprofessional if the software, due to possibly being insufficiently tested, accidentally sent out emails to say the wrong users or send out emails with incorrect content. I therefore thought it best if I had some sort of SMTP simulator with which I could do testing with. A personal SMTP server, as it were, with which I could do testing to my heart’s content.
I felt my ideal SMTP test server should ideally meet the following requirements:
- Be able to be run locally on a development machine.
- Have no limit on how many message could be sent to it. This is because some SMTP services have limits on how many mails could be sent out at any given time.
- Have an UI to view the emails received. It would also be a bonus if the HTML and CSS in the mail is rendered for me to simulate an email client like Outlook.
- Be easy to set up.
- Could be run as a Docker container without too much effort.
I was therefore very happy to discover an existing piece of software called Mailhog which met all my requirements. Many thanks to the developers who created and maintains the project. A docker image is also available.
Steps to set up Mailhog
To make a Mailhog docker container type the following command:
docker run -d -p 1025:1025 -p 8025:8025 --name mailhog-container mailhog/mailhog:v1.0.1
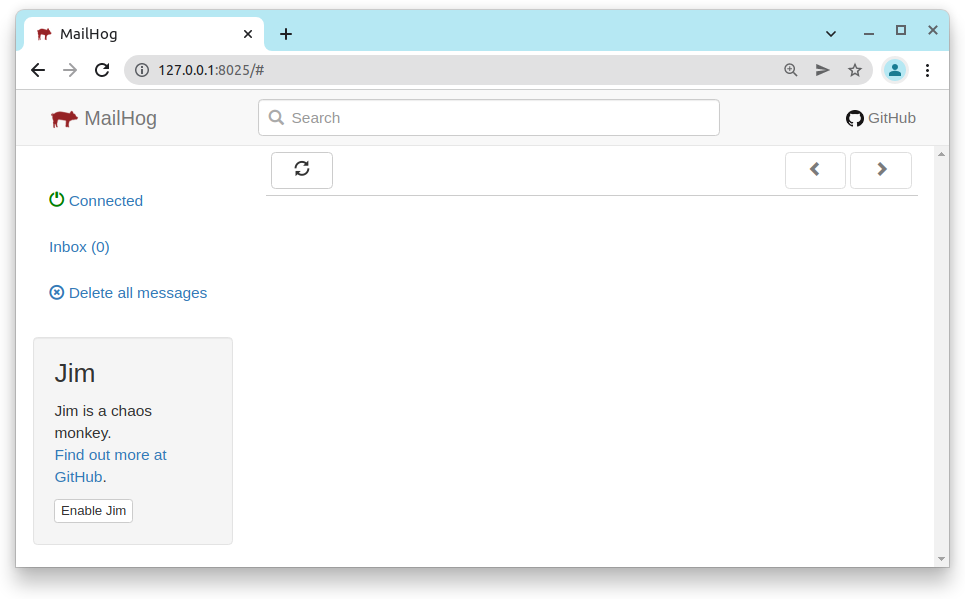
This command will download the Mailhog image, make the container and then run it in the background ready for use. Port 1025 is exposed for the SMTP server port and port 8025 for the Mailhog Web UI. After running one can then navigate to the Web UI using URL http://127.0.0.1:8025.
Now use these server parameters in your code or client:
| Parameter | Value |
|---|---|
| SMTP hostname: | localhost |
| SMTP port: | 1025 |
| SMTP username: | anything |
| SMTP password: | anything |
| SMTP use encryption like SSL or TLS: | False |
| SMTP authentication method: | Password |
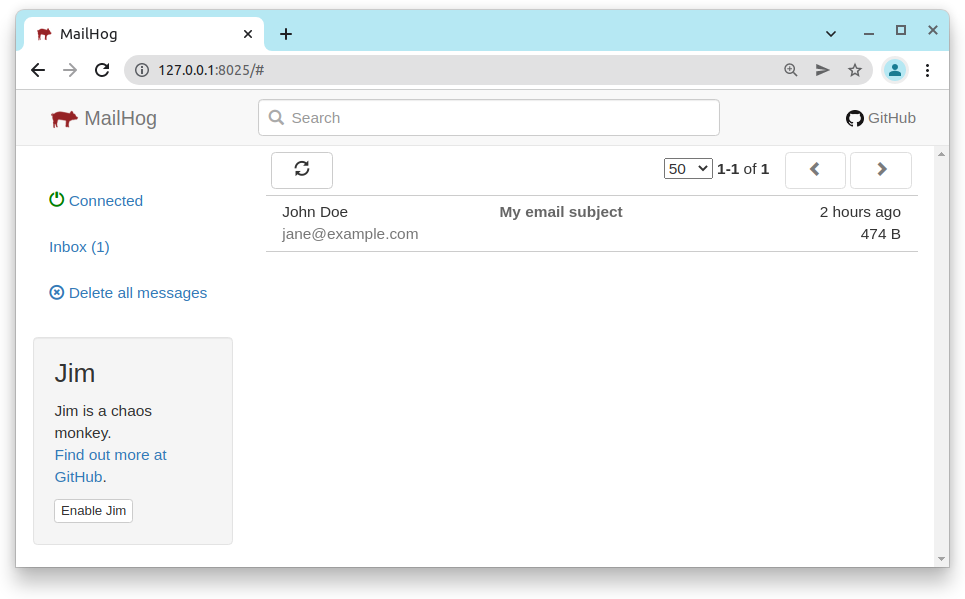
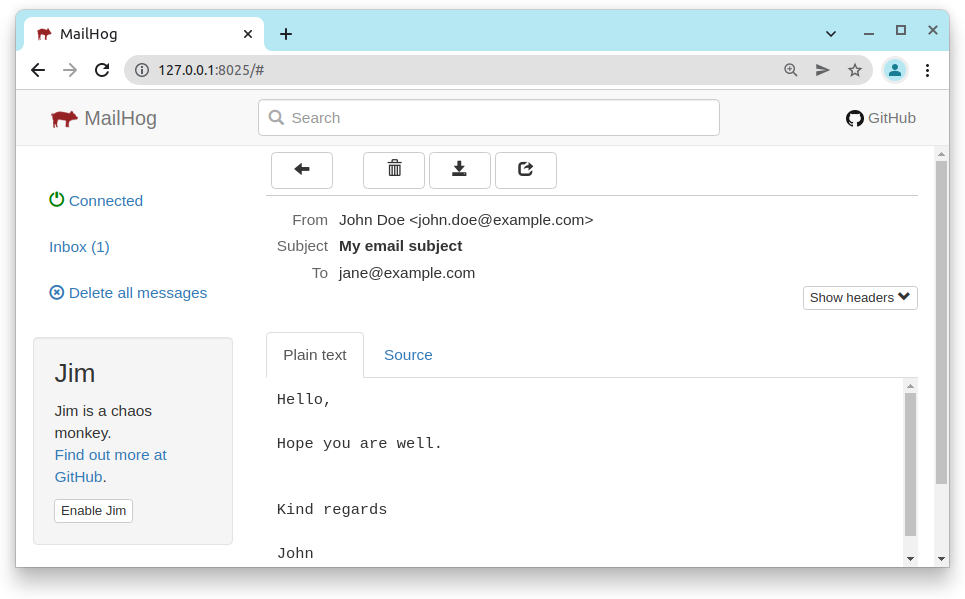
One can now set up one’s email client with the above SMTP parameters and test away. For instance here’s a plain text email shown in the UI:
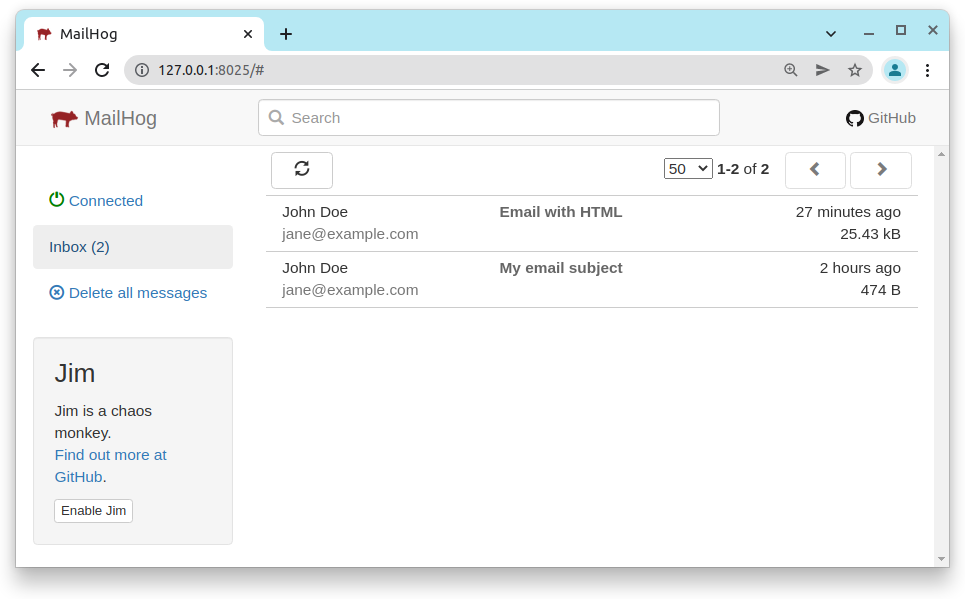
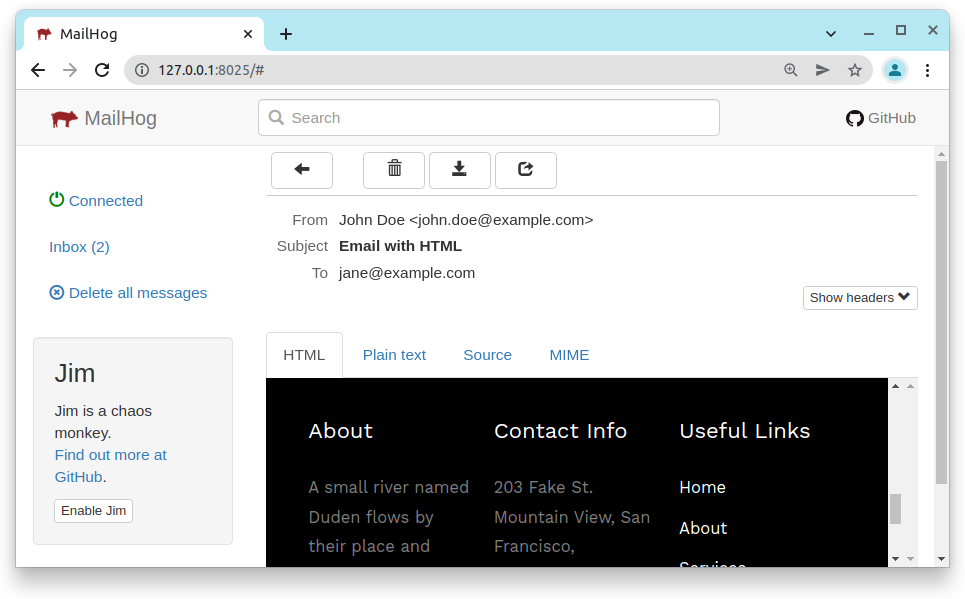
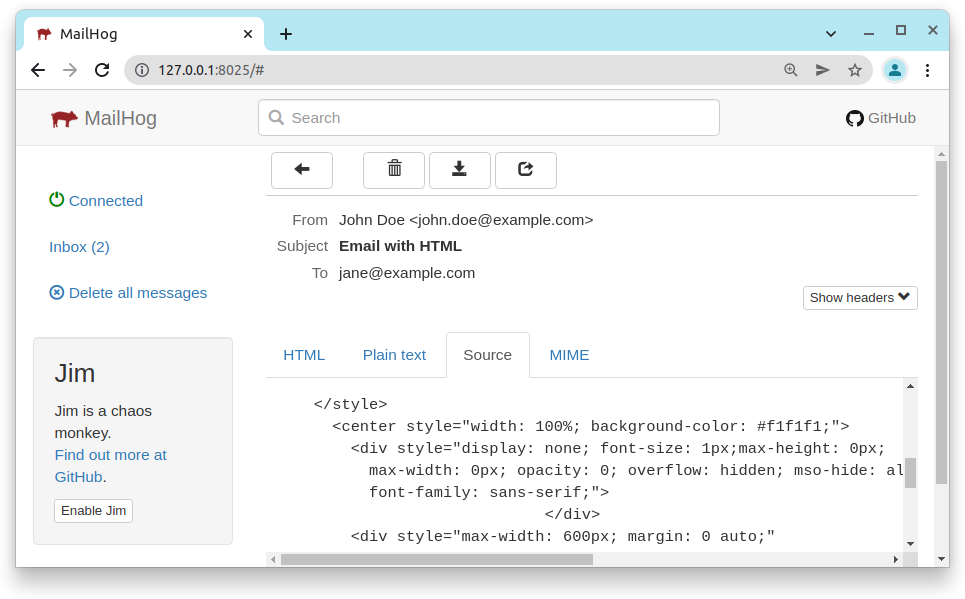
When we send an email with embedded HTML and CSS we can see the rendered view and the source which is very convenient for testing:
In conclusion Mailhog is an excellent tool to use and will make your life a lot easier when doing SMTP testing.